Mounting
the suspension:
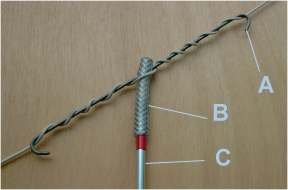
The tube B is drilled at
45° askew Ø 2mm.
The rod A is inserted in
the hole, and bended at each end.
The top end of the tube C
is slipped forward 15mm in the plastic tube. It must go
by force. If it was not holding properly, slightly increase
its diameter. Usually, the aluminum tubes are 6.2mm, which
goes well.
This end is used for the rotation
of the craddle, so there is no other clamping. I have tested
15mm fitted pipes and they hold up to 11kg, which is enough
safe for lifting 500g or less.
Test the
length of the nesting and the force necessary to extract
it for each case of stem and tube. Normally,
to extract the stem, it must be pushed on the fitted
end of the tube and not pull it on the free end.
The red tape is there to verify
that the pipe and the tube are correctly fitted.
After each use, unfit the
stem and the tube to avoid that the tube takes the shape of
the stem and loose its tightening efficiency. |
|
Mounting the cradle:
The tube C is drilled Ø
3 at its lower end.
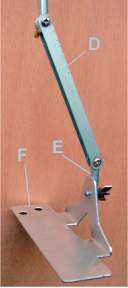
At each end, the shape D
is notched and drilled Ø3mm. A craftiness is to drill
first Ø2.5mm, and to tap Ø3 one side, then
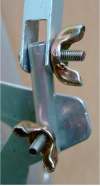
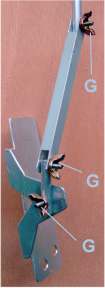
to drill Ø3mm the other side. Thus, the bolt Ø3
will be screwed on the tapped side, and locked. On the other
side, a wing-nut will let tighten. Put a drop of glue to
avoid to lost the nut..
The step part E is drilled
with two holes set perpendiculary.
The part is cut to save weight.
The holes Ø6.5mm to mount the cameras are determined
for each one. (on the picture, for Olympus epic, stylus,
AF10 mini, andt AF10XB)
|


